A Practical Way To Understand Shoe Construction
The course approaches footwear as a sequence of connected decisions: identifying components, preparing pattern pieces, handling materials, assembling the upper, shaping it on a last, aligning the sole, and checking the result before moving on.
How Practice Is Built
Each exercise focuses on a manageable part of the making process so errors can be spotted before they affect later construction stages.

Understand The Parts
Recognize uppers, linings, insoles, outsoles, reinforcements, and other components before working with assembly order.
Practice On Samples
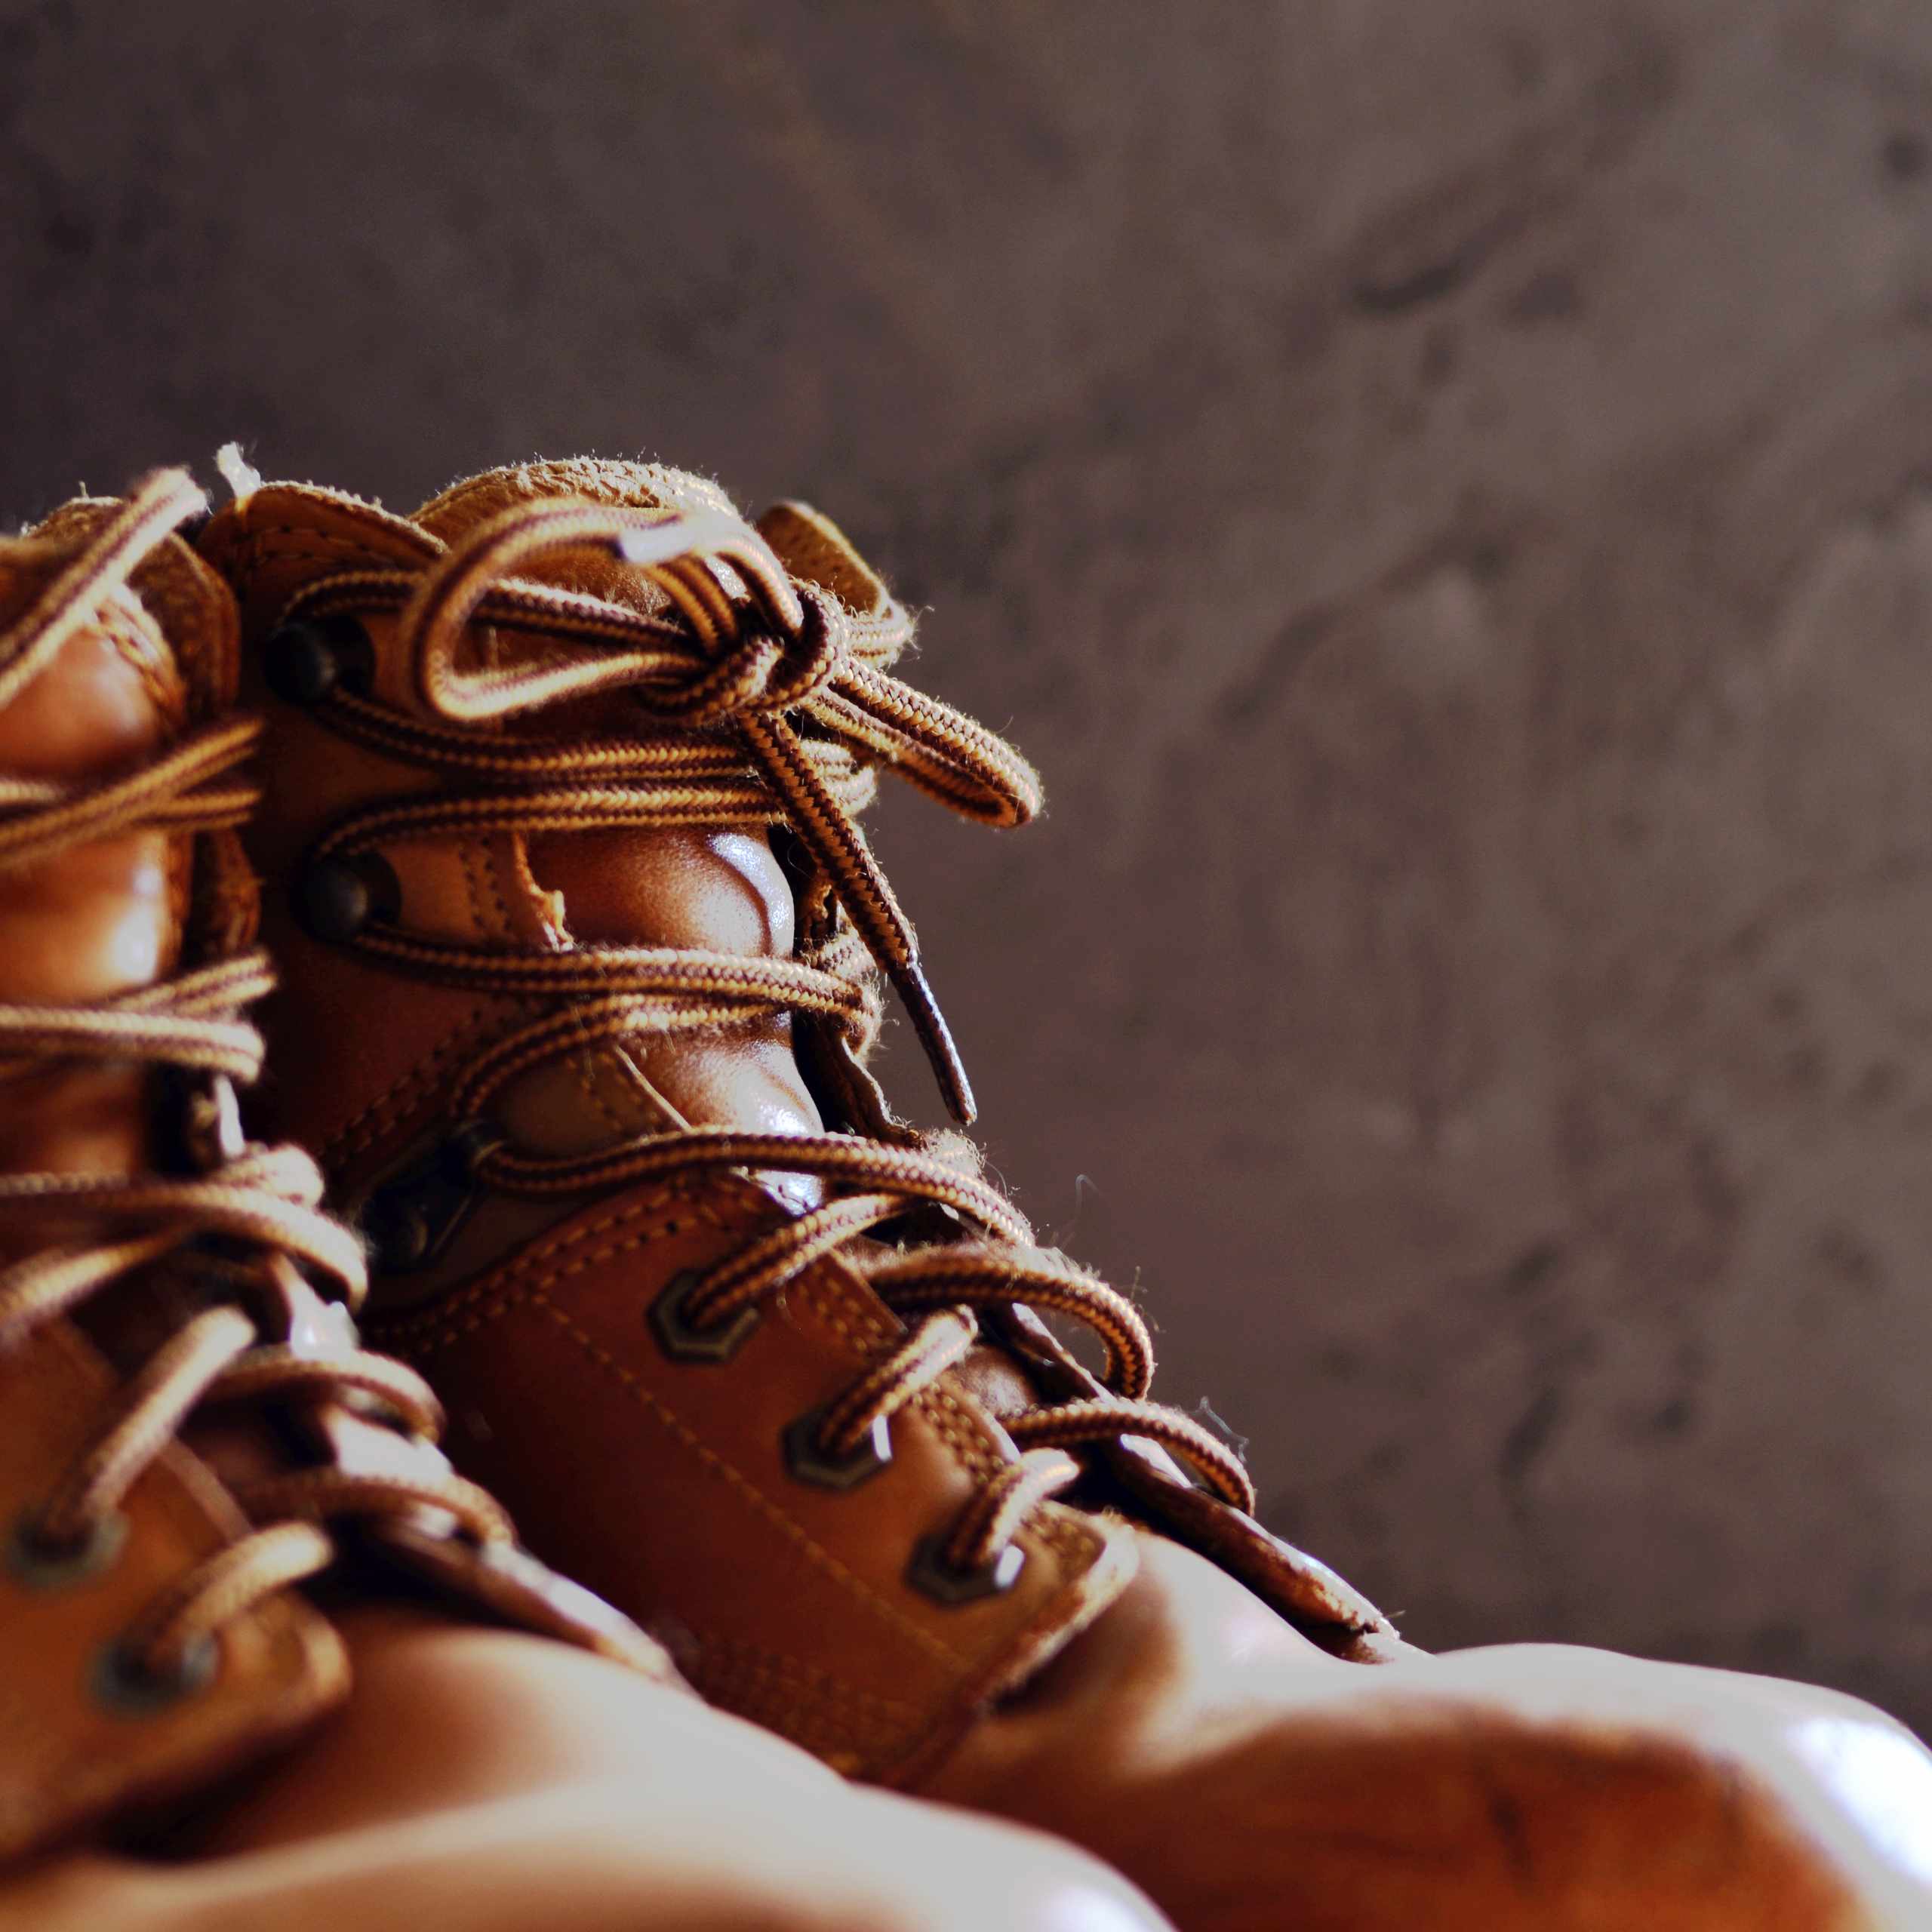
Use pattern pieces and scrap material to practice cutting, seam allowance, stitching, edge preparation, and bonding surfaces.

Check Before Continuing
Pause between stages to compare symmetry, center
lines, lasting tension, stitch placement, and sole
alignment.
A More Orderly Way To Practice
Breaking shoe construction into smaller checks made the process much easier to follow. Instead of rushing toward assembly, I began comparing pattern orientation, seam position, and left-and-right symmetry at each stage.
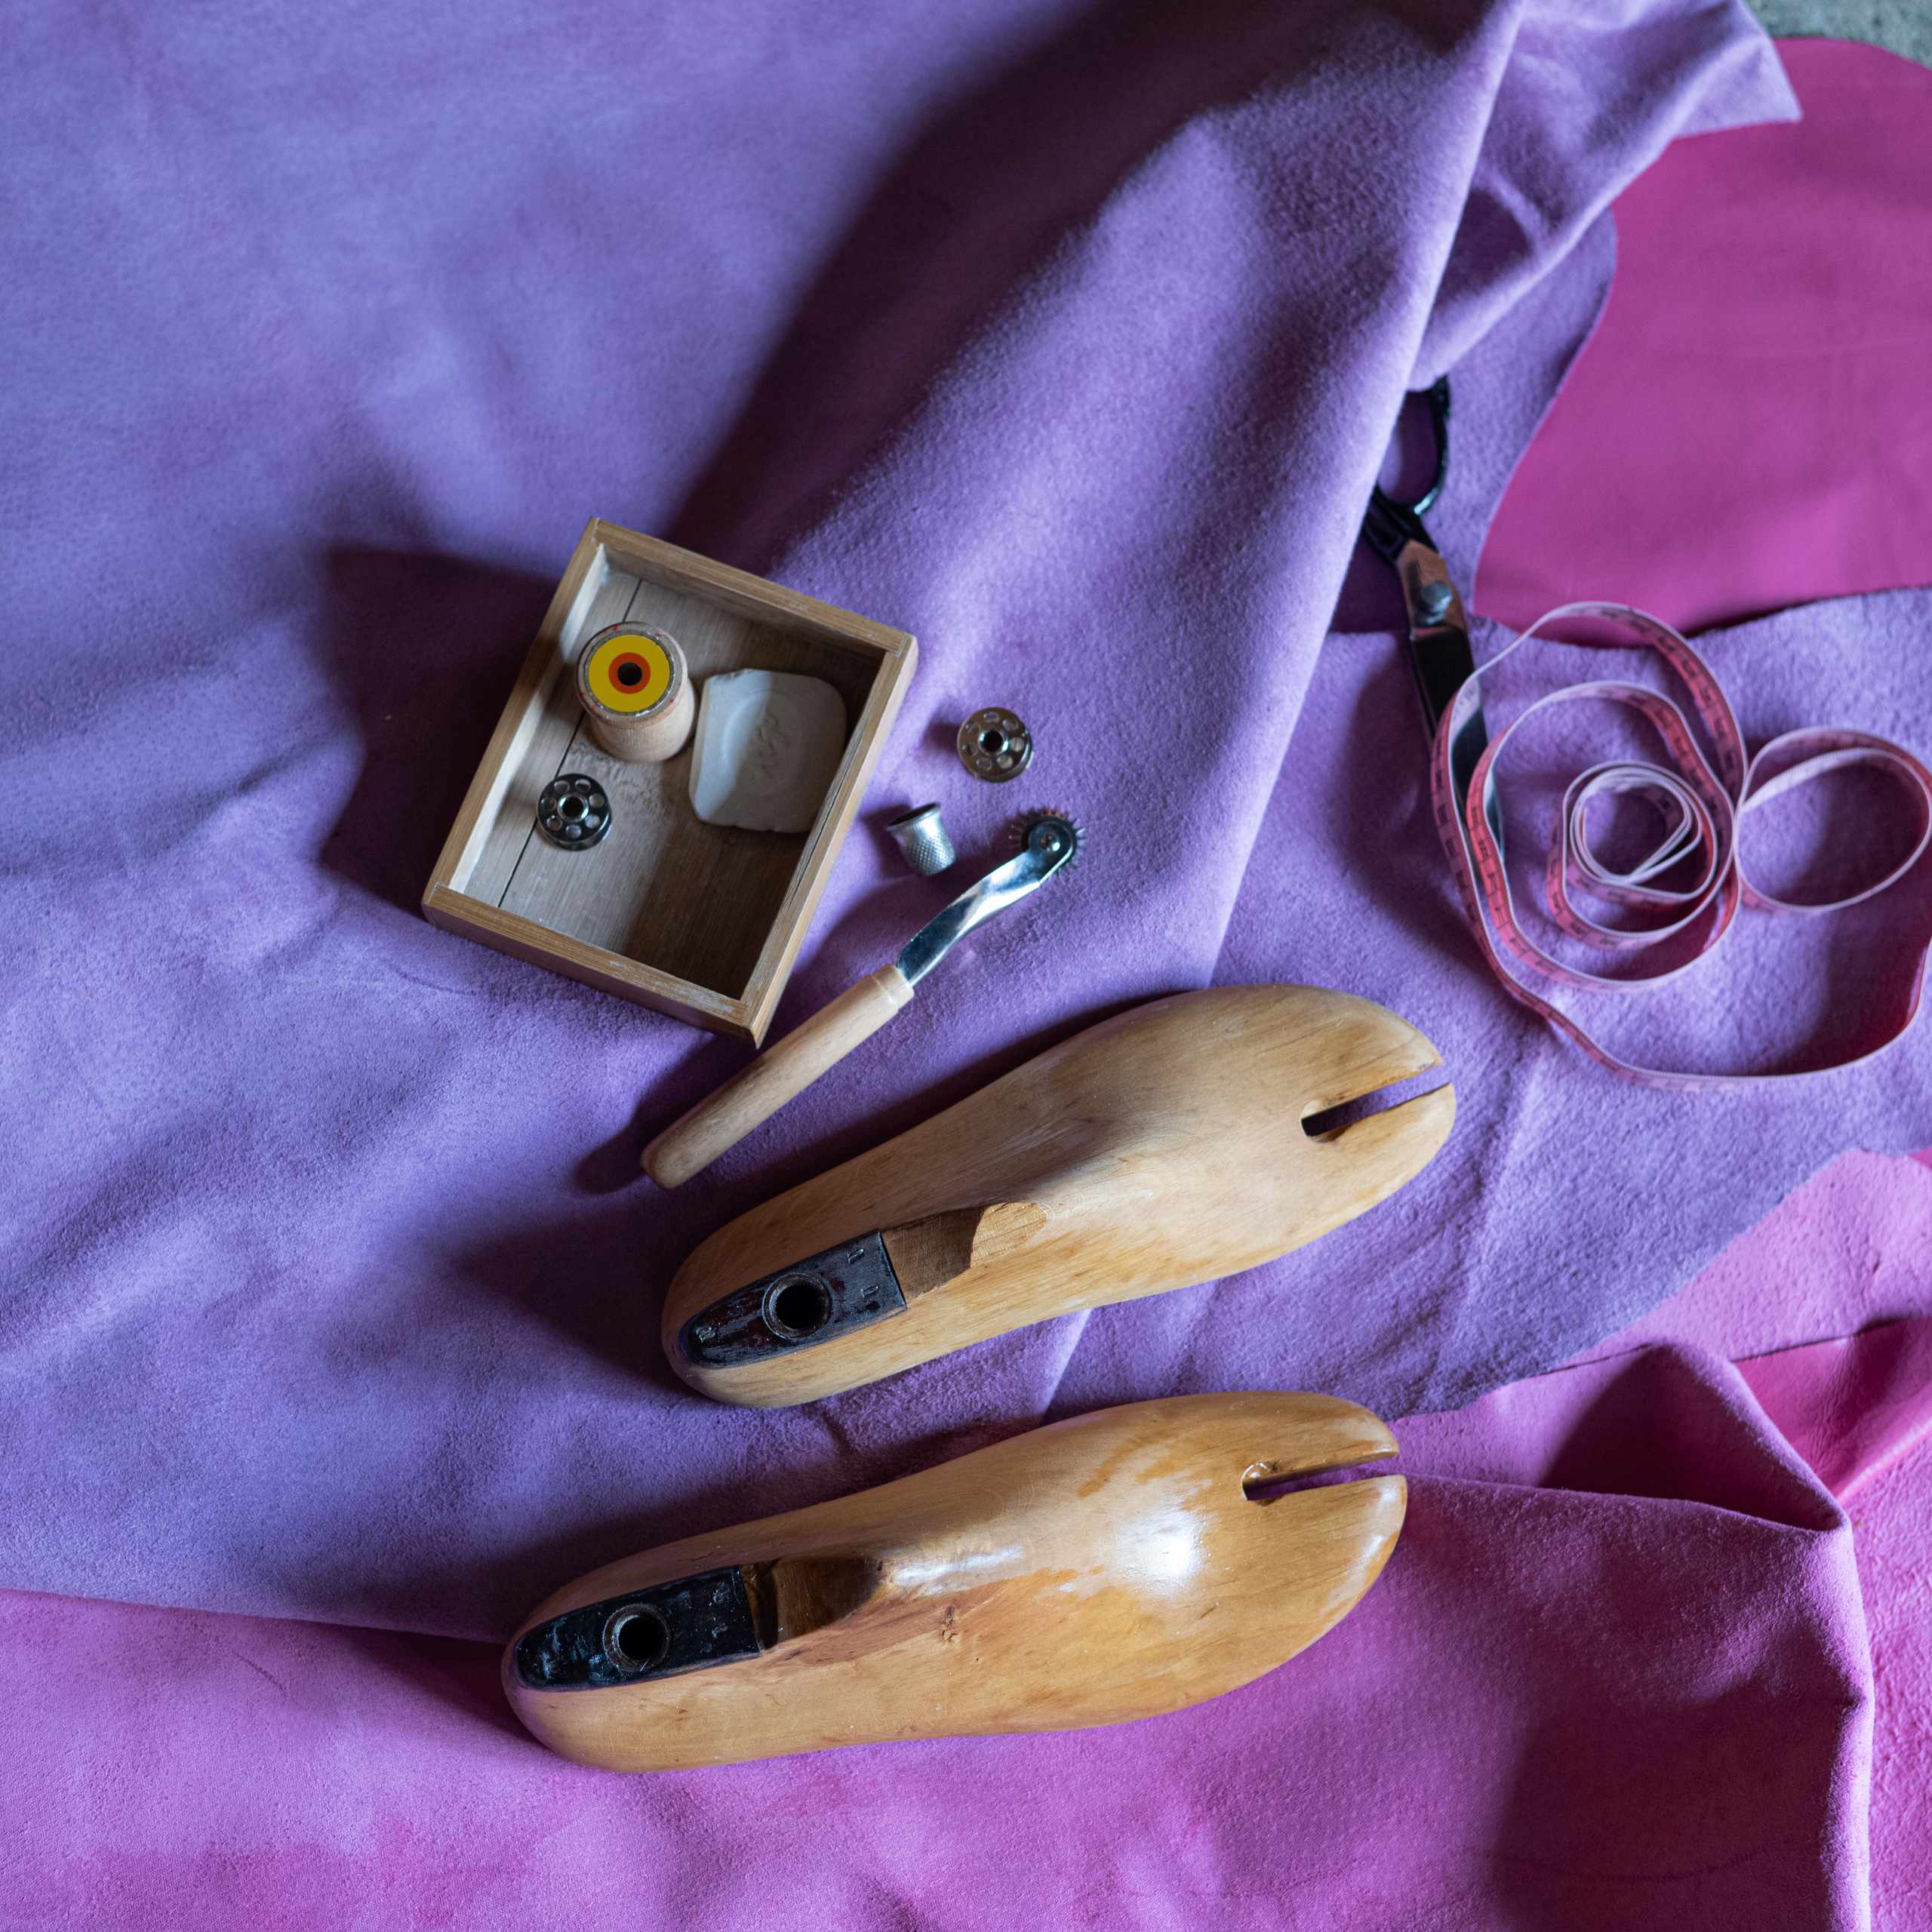
Practicing lasting on a small exercise helped me see how uneven tension changes the toe shape and shifts the center line.
Measure Before Cutting
Check pattern position, grain direction, and mirrored pieces before material is cut.
Assemble In Sequence
Join upper components in an order that keeps seams and later shaping manageable.
Shape With Balance
Use center lines and even lasting tension instead of pulling one side excessively.
Inspect The Finish
Compare seams, edges, bonded areas, toe position, heel position, and overall symmetry.